For the longest time I simply wheeled the bikes into the garage and dropped the side-stands on plywood squares. Easy and cheap, but it wastes space and… well, we’ll just leave out the story of the rainy day and too much front brake as the tire rolled over the plywood. Gravity’s a harsh mistress.
 Enter chocks. Chocks  aren’t only for your trailer, they can go a long way toward neatening up your garage and making bike parking a breeze.
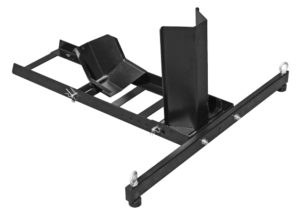
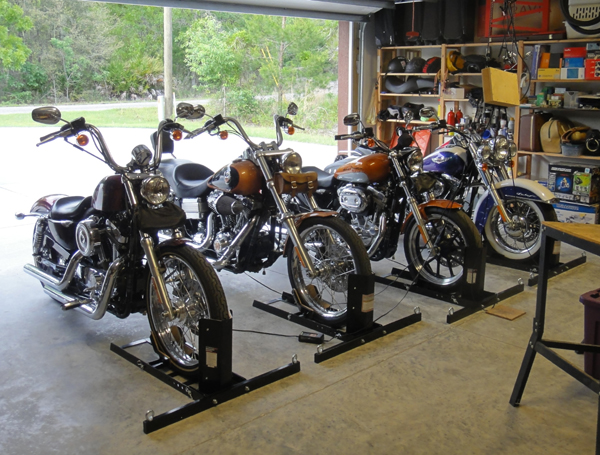
I’ve got 4 of these (Harbor Freight #61670) bolted to the garage floor.
There’s not a lot that can go wrong. The first thing that I usually recommend for stuff from Harbor Freight is replacing the hardware (fasteners like bolts, nuts, etc.) with a better grade. But that doesn’t seem necessary in this case. The hardware isn’t great but it seems adequate for the forces involved. Just don’t over-torque the support arm bolts on assembly.
The support parts attach to the frame with through-shafts secured by spring retainers. The pivoting cradle (left side of image) locates front or back in the frame to accommodate wheel diameter differences.
Manufacturing tolerances for the support parts within the frame are another matter – they’re awful. Without modification they’ll can shift laterally which could cause a bike to drop, probably ruining a wheel. You must eliminate this lateral movement and align the pivoting cradle behind the front support to solve the problem. I used the lathe to fashion custom spacers from spare stock but a stack of washers would do just fine. Measure each of the four locations to suit your specific unit – the measurements will vary greatly. My four chocks ranged from about a quarter-inch to over an inch!

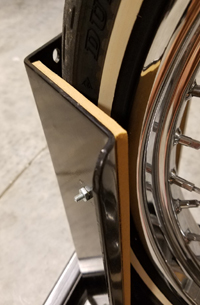
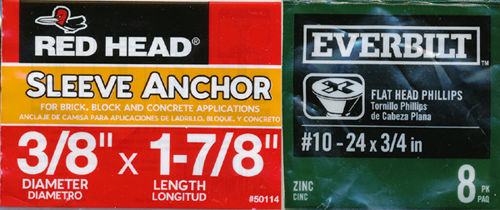
The chock is designed to accommodate fairly thick tires. It’s a perfect fit for a Dunlop D402F MT90B16 72H. But a narrower tire like a Dunlop MH90-21 54H isn’t thick enough to give solid support. For my bikes with narrower front tires I built up the tire contact areas with two pieces of quarter-inch plate, using machine screws (countersunk to avoid tire contact) to fasten them to the front support. I used Everbilt flat head Phillips #10-24 x 3/4″ screws. I drew a template for when I need to make more in the future.

After double-checking for proper placement, bolt the unit to the floor with concrete anchors – the Red Head 3/8″ x 1-7/8″ sleeve anchors (part # 50114) worked great for me.

One last thing. If you plan to strap your bikes down for extended periods then I strongly suggest another anchor at each end of the arm with the eye-bolts. Those arms are thin-walled rectangular tubing that don’t take much strap tension to deform. In fact, I’d use flush anchors beneath the unit and run the eye-bolts right through the tubing into the anchors. That way the straps would anchor directly to concrete for greatest support.
Watch the coupons and sales. You can often get these chocks item for well under the regular price.

Addendum
In the time between this post being written and the post date I sold the two motorcycles furthest from the viewer in the illustration above. In their place is a trike – no chock needed. I uninstalled the year-old chocks and posted them to Craigslist where they sold within a couple of days for a price near to their original (discounted) cost.


